Buying a Used Car Privately in Texas — From PPI to Registration to My Maintenance Plan
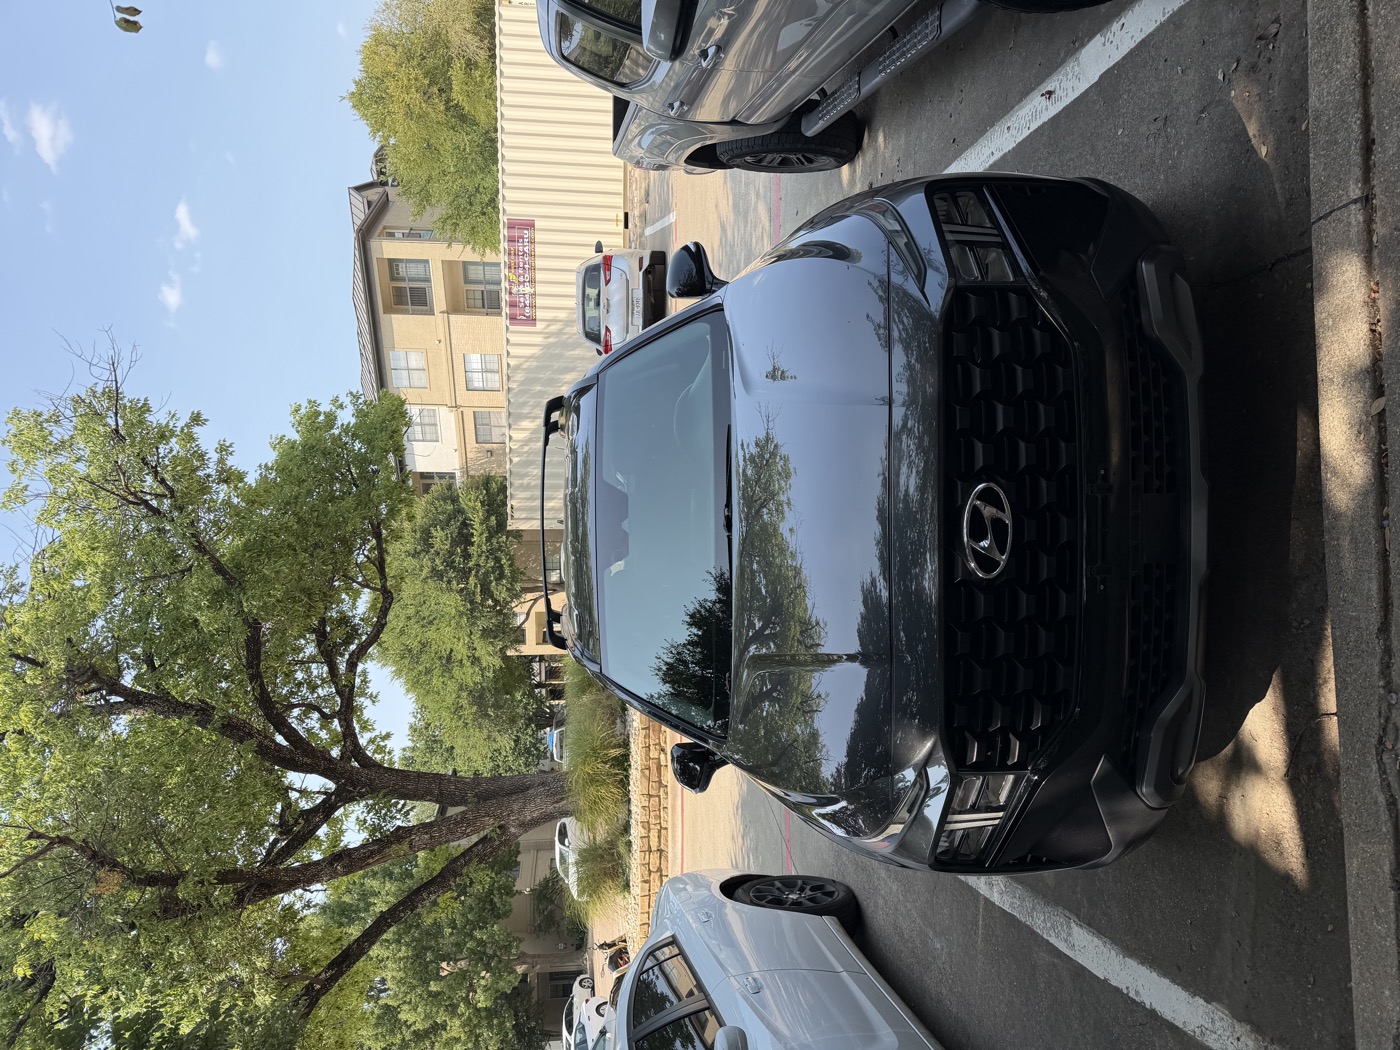
In my last post (Getting Ready to Buy My First Car in the US), I wrote up how I prepared before arriving, assuming I’d be buying from a dealer. What actually happened was different — I ended up buying a 2022 Hyundai Santa Fe XRT through a private-party sale instead. I saw the listing in a Korean community group, the car looked like it was in good shape, and I decided to handle the whole thing myself. This post walks through what that process actually looked like, step by step.
How I judged the price
The most confusing part of a private-party deal was figuring out “what’s a fair price here.” I learned pretty quickly that you can’t judge it off a single number.
| Source | For this car | What it means |
|---|---|---|
| CARFAX Retail Value | ~$19,000 | Reference price for the retail market — not the same as a private-party price |
| CarMax buy offer | ~$15,000 | What a dealer would actually pay to buy it — normally lower than retail |
| What I actually paid | $20,200 | A private-party price shaped by the car’s condition, service history, and the seller’s own situation |
These three numbers represent different things, so you can’t just compare them directly. Paying more than the CARFAX value doesn’t automatically mean I got ripped off — so instead I weighed these five things together:
- Actual asking prices for similar year/trim/mileage listings
- Value guides like CARFAX/KBB
- Dealer buy offers (CarMax offer)
- Accident, ownership, and title history
- Recent maintenance and the condition of wear items
In the end, it wasn’t so much “I got a deal” as “I paid a bit more, but for a car with solid condition and a documented service history.”
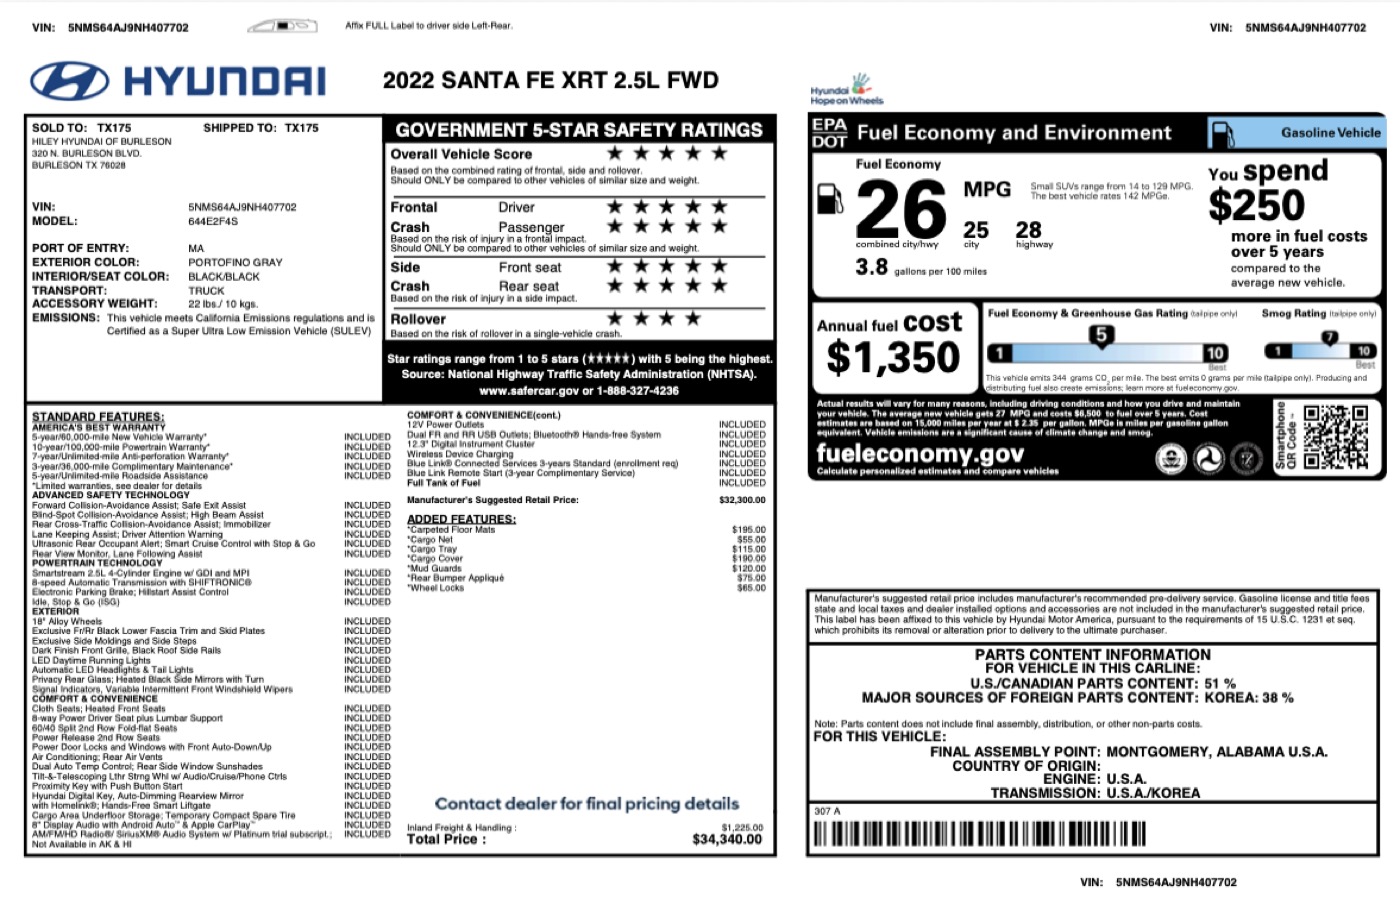
For reference, I checked the original window sticker (Monroney Label) from when the car was new — MSRP was $32,300, and with dealer-installed options (floor mats, cargo net, cargo tray, cargo cover, mud guards, bumper appliqué, wheel locks) the total came to $34,340. Over 74k miles, it had lost about 40% of its value ($20,200 ÷ $34,340 ≈ 59%).
The overall process
| Step | What happened | Cost |
|---|---|---|
| 1 | Pulled a CARFAX report | $40 |
| 2 | PPI (pre-purchase inspection) | $150 |
| 3 | Test drive | - |
| 4 | Checked ID, VIN, and liens; paid; signed the Bill of Sale | $20,200 |
| 5 | Signed title transfer + Form 130-U signed by both parties | - |
| 6 | Got insurance (Progressive) | - |
| 7 | Applied for a Transit Permit | - |
| 8 | Visited the Tax Office to register | $1,262.50 tax + fees |
What it actually cost in total
| Item | Amount |
|---|---|
| Vehicle price ($500 deposit + $19,700 balance) | $20,200 |
| CARFAX + PPI | $190 |
| Sales tax (6.25%) | $1,262.50 |
| Title and registration fees | Extra (varies by county) |
| Total | $21,652.50 + fees |
Step 1. Pulling the CARFAX report
I bought a CARFAX report for $40 to check the accident history and ownership history. Here’s what I looked for:
- Accident/damage — accident or damage records, structural damage, whether the airbags had deployed
- Title — any salvage, rebuilt, flood, or other title issues
- Odometer — rollback or inconsistencies in mileage
- Ownership — number of owners and how long each held it
- Service history — actual maintenance records for oil, tires, brakes, filters, etc.
- Open recall — any unresolved recalls
- Location — possible exposure to flooding, road salt, or other environmental factors
This car came back clean: no accidents, no structural damage, airbags never deployed, no mileage discrepancies, no title issues (this is what’s called a clean title), two private owners, and several real service records on file — all of which I took as a good sign.
Step 2. PPI (Pre-Purchase Inspection)
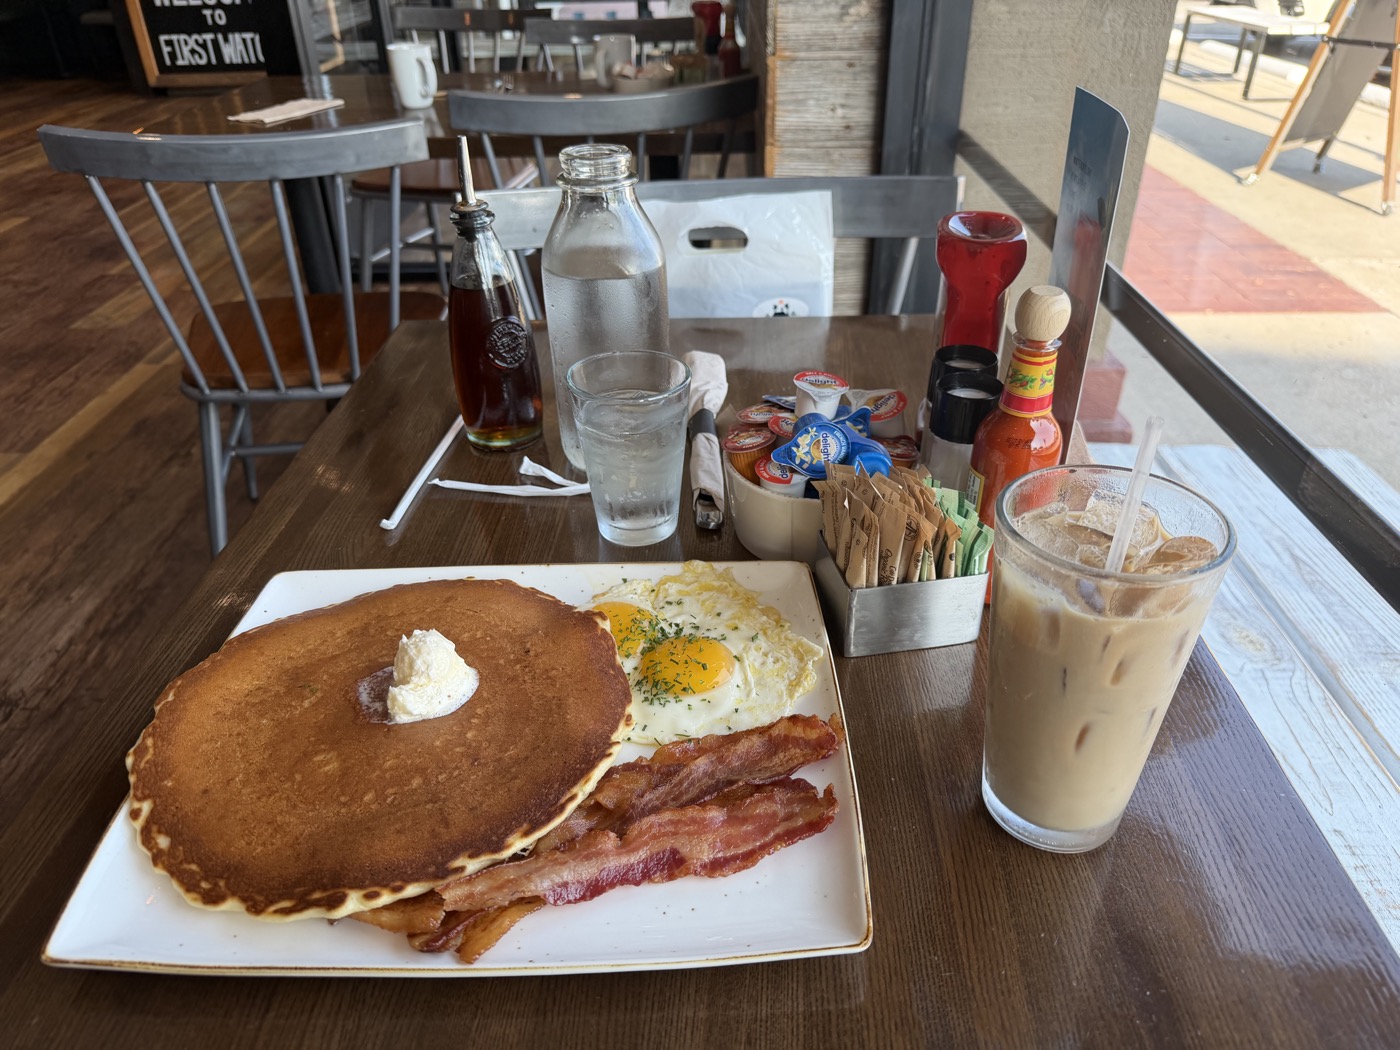
Before heading out for the PPI, I grabbed a quick breakfast, and when I looked at the receipt while paying, I had to pause for a second. I’d ordered just a coffee and a couple of items, and it came to almost $30. It was one of those moments where the cost of eating out really hit me.
A seller saying “it’s in great shape” and a mechanic actually confirming that are two different things. The standard practice is to have an independent shop with no ties to the seller do the inspection, at the buyer’s expense. It cost $150, and at 74,532 miles, they checked the following:
| Item | What was checked |
|---|---|
| OBD/scan | Current and past fault codes, warning lights |
| Engine | Fluid leaks, coolant leaks, unusual noises, oil condition |
| Transmission | Fluid leaks, shift shock/unusual noises, road test |
| Brakes | Pad and rotor condition |
| Tires | Tread depth, uneven wear, DOT date code |
| Suspension | Shocks/struts, bushings, ball joints |
| Undercarriage | Leaks, corrosion, signs of accident damage |
| Body | Signs of panel replacement/repaint, frame damage |
| Basic electrical | AC, lights, windows, locks, battery |
The lift inspection, leak check, suspension, tires, brakes, and system scan all came back GOOD.
Even if the PPI report just says “GOOD,” it’s worth asking for the actual measured numbers where possible — tire tread depth, brake pad thickness, and so on — and cross-checking recent maintenance against receipts. “GOOD” is a snapshot of the car’s current condition, not a guarantee for the next however-many thousand miles.
Step 3. Test drive
Separately from the PPI, I drove it myself and checked the following:
| Situation | What to check |
|---|---|
| Cold start | Unusual vibration, noise, or warning lights right after starting |
| Low speed | Brake feel, steering pull, shift shock at low speed |
| Acceleration | Engine power, shift quality, unusual noises |
| High speed | Vibration, steering wheel shake, wheel bearing noise |
| Hard braking | Brake shudder, metallic noise, pulling to one side |
| Parking | Shock when shifting between forward/reverse, signs of fluid leaks |
Step 4. Pre-deal checks, payment, and the Bill of Sale
Before handing over any money, I checked three things first. These are the most basic steps for avoiding fraud in a private-party deal.
- Seller’s identity — the owner’s name on the Title matches the seller’s ID
- Matching VIN — the VIN is the same on the Title, the car itself (bottom of the windshield and driver’s door), and the CARFAX report
- Liens — no lienholder (lender) is listed on the Title. If one is, you need a lien release showing the loan has been paid off
I put down a $500 deposit first to hold the car. After that, I paid the remaining $19,700 of the $20,200 total as a cashier’s check. In private-party deals, sellers are often uncomfortable accepting a stack of cash, so a cashier’s check is the standard way to pay. After payment, the seller and I met at a nearby coffee shop and filled out a Bill of Sale together. It’s a simple document with the transaction amount, vehicle information, and both signatures — it’s easiest to just print a standard template from the internet ahead of time.
Step 5. Signed title transfer + Form 130-U
After the Bill of Sale was done, I received the Title. The seller had already filled in and signed the seller section on the back of the title.
At the same time, we also filled out Form 130-U (Application for Texas Title and/or Registration). This form needs to be signed by both the seller and the buyer, so if you don’t get it done while you’re with the seller, you’ll have to track them down again later. You can print it from the TxDMV website ahead of time.
If the transfer section on the back of the title or the seller’s signature on Form 130-U is missing, the Tax Office can refuse to register the car. It’s worth checking on the spot that everything is filled in completely.
Step 6. Getting insurance
Before applying for a Transit Permit, you need insurance in your own name to legally drive the car. I got quotes from three insurers and went with Progressive, which came out cheapest.
Step 7. Applying for a Transit Permit
In Texas, plates generally stay with the car, but in a private-party sale the seller is allowed to remove the plates and the registration sticker. My seller took the front and rear plates and the windshield sticker with them.
Since I needed to drive the car without plates, I applied for a Transit Permit. It lets you legally drive without plates for 5 days.
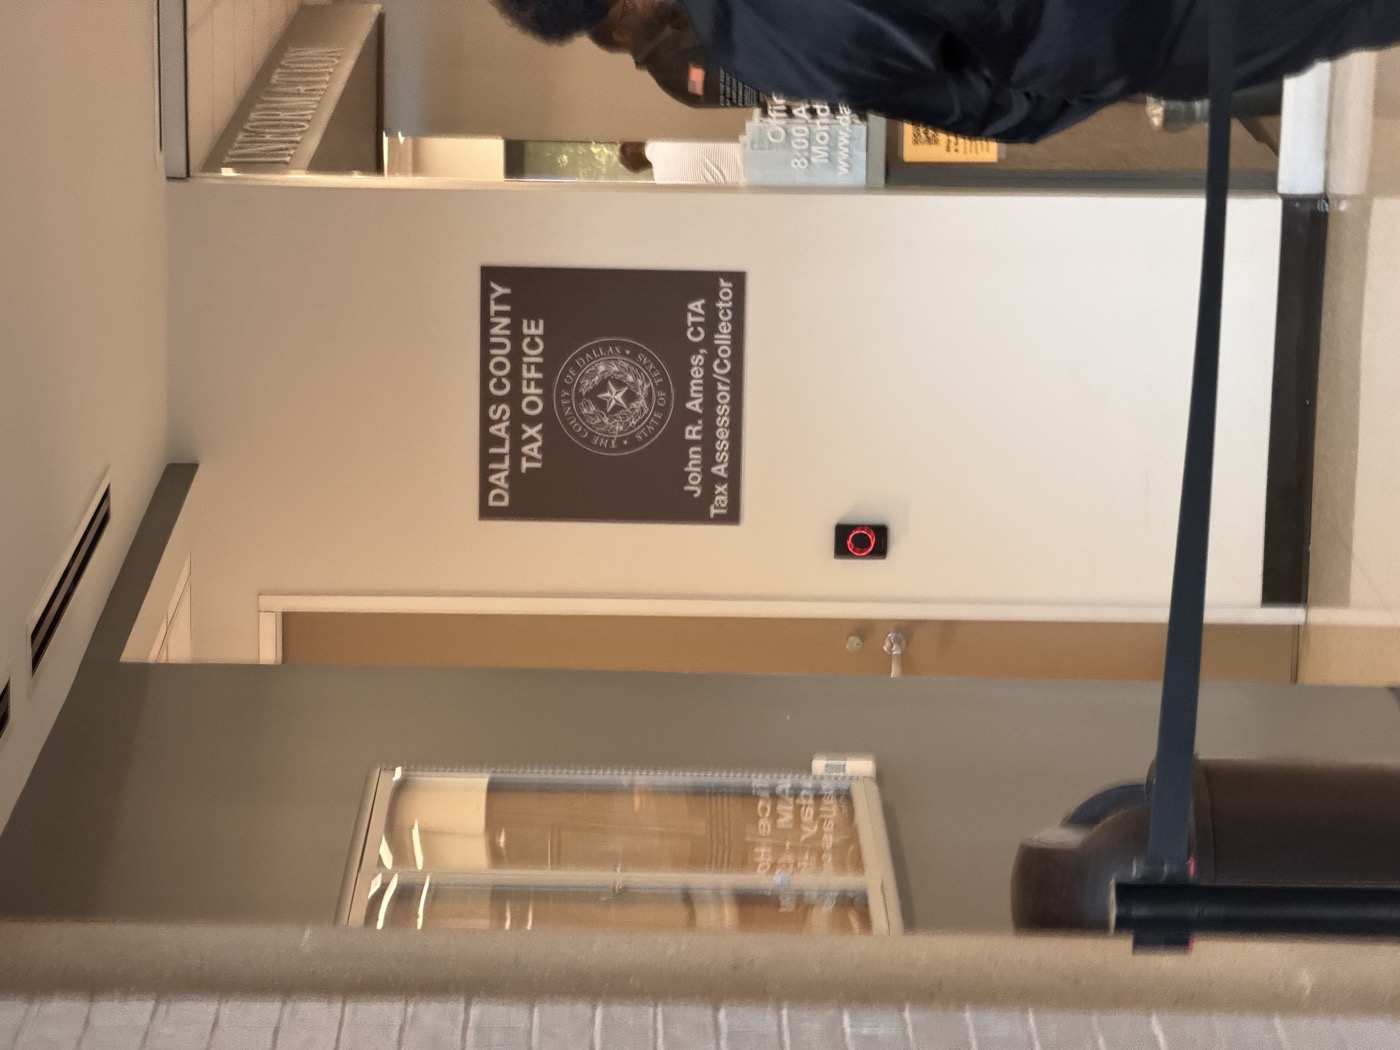
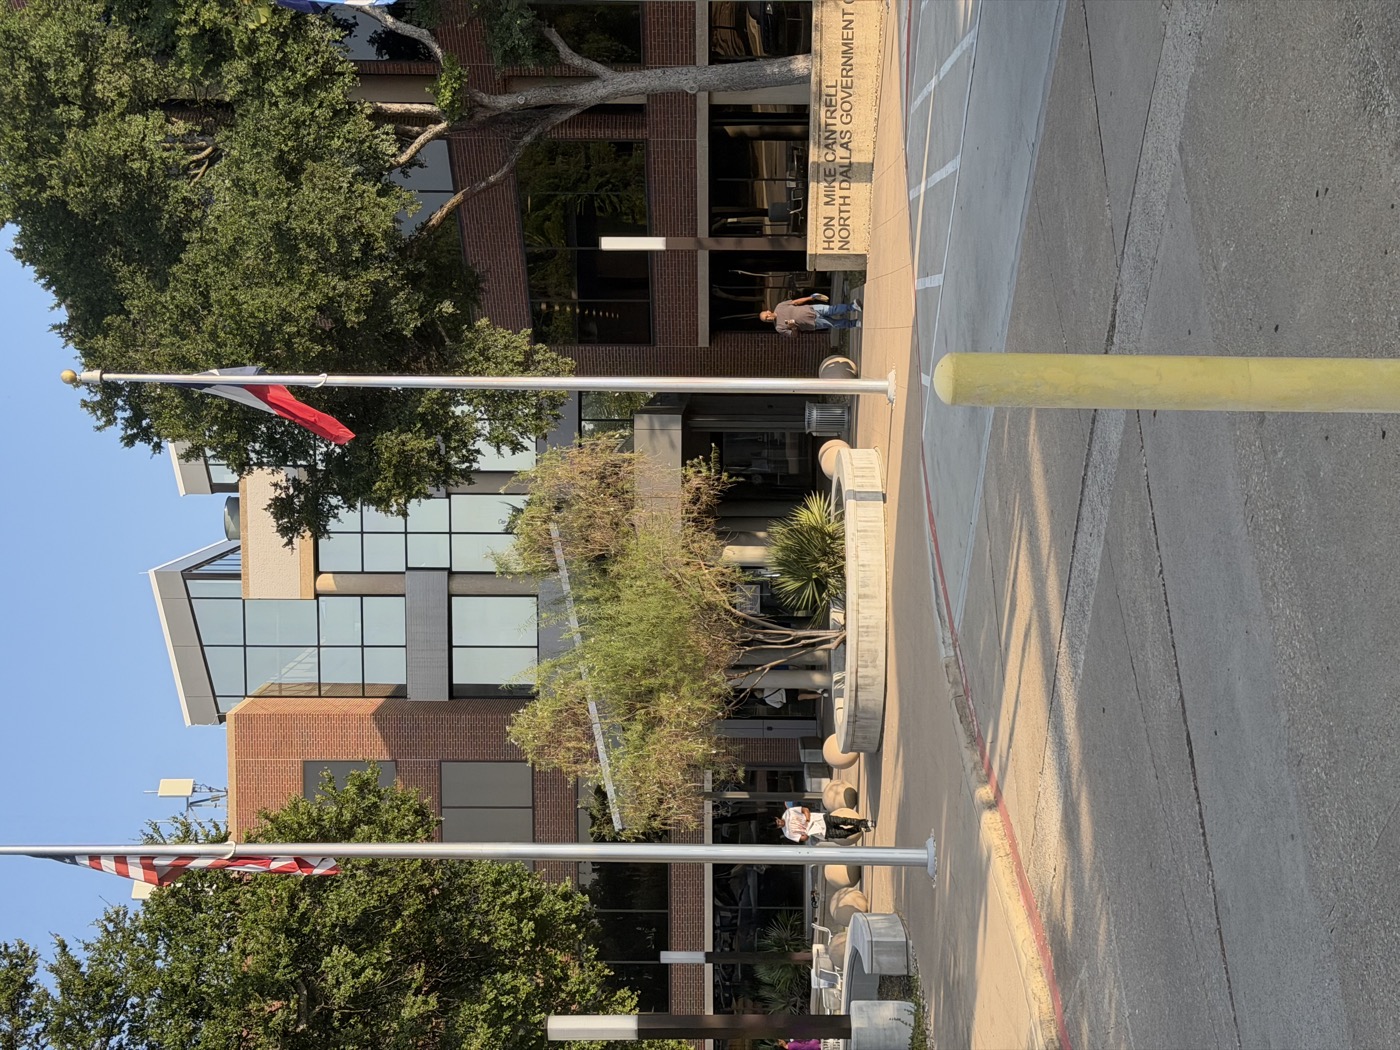
Step 8. Visiting the Tax Office — registration and paying the tax
After that, I went to the Tax Office by myself to finish registration. Here’s what I brought:
- The Title from the seller
- Form 130-U, signed by both parties
- My Passport, for ID
- Proof of insurance (insurance card)
- A way to pay the tax and fees
The 6.25% tax is charged on whichever is higher: the actual sale price or 80% of the SPV (Standard Presumptive Value). Even if you report a price below market, you’ll be taxed on the SPV, so if you got the car very cheaply, it’s worth calculating the tax ahead of time. In my case the sale price was higher, so I paid $20,200 × 6.25% = $1,262.50.
I paid the tax entirely in cash. Apple Pay didn’t work, and cards often come with an extra processing fee. Bringing cash or a check is the safest bet.
Once the process was done, I got a Texas license plate and a registration sticker on the spot (Texas uses a “Two Steps, One Sticker” system, so there’s just one windshield sticker), and finally a registration receipt, and with that, registration was complete.
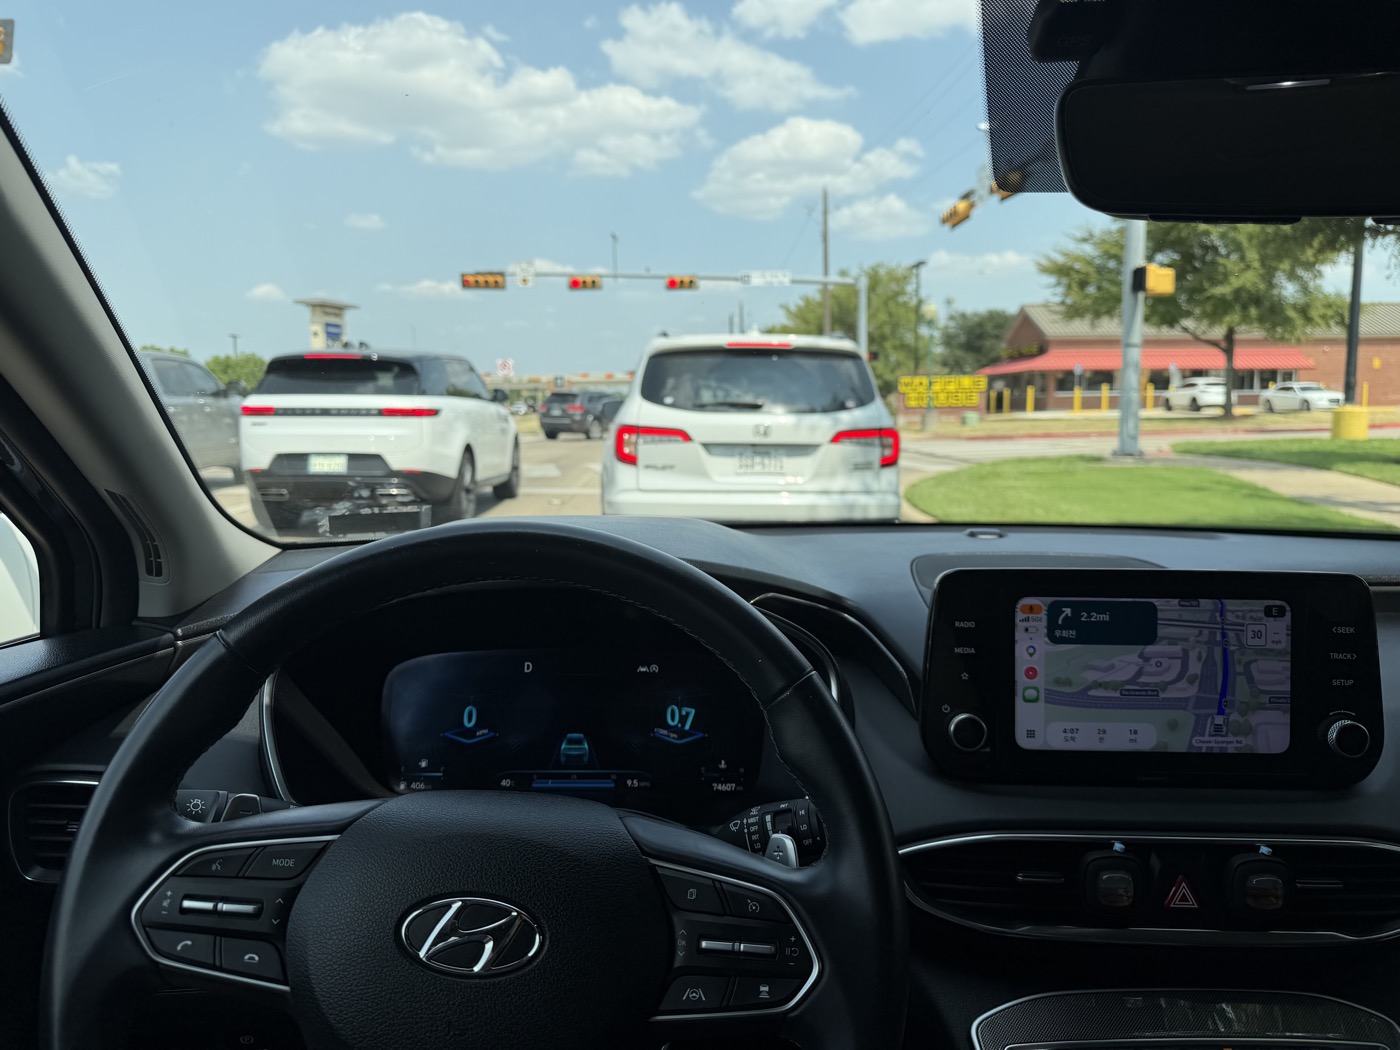
The odometer read 74,607 miles. Not far off from the 74,532 miles at the PPI, the car officially became mine.
Post-purchase checklist
Once registration was done, I put together this checklist:
Wrapping up
The process felt simpler than going through a dealer, but there was a lot more I had to verify myself. Validating the car’s condition through CARFAX and the PPI, and — while I was with the seller — checking their ID, the VIN, and liens, plus the Title and 130-U signatures, mattered especially. From payment to registration, the whole thing wrapped up within a day or two. If I’d bought a car in similar shape from a dealer, there would have been dealer fees and markup on top, so even though I paid a bit over market value, I think the overall cost was reasonable.
Tax and paperwork requirements can vary a bit by county, so it’s worth double-checking what your local Tax Office requires before you go.
My maintenance and ownership plan going forward
As of purchase (roughly 75,000 miles, 2.5L GDI, FWD), I put together the following maintenance plan. All four tires and the brake pads were replaced at 53,146 miles, and the service records show an oil change around 69k miles (around March 2026). With a 5,000–6,000 mile oil-change interval, the first oil change is due right now.
Hyundai’s 10-year/100,000-mile powertrain warranty only applies to the original owner; from the second owner on, it drops to 5 years/60,000 miles. This car is already past that, so I budgeted a generous buffer below.
| Mileage | Maintenance |
|---|---|
| Now (75k) | Oil + filter, check engine and cabin air filters |
| 80–91k | Oil + filter every oil-change interval (5,000–6,000 mi), tire rotation, brake/tire check |
| ~90k | Brake fluid replacement, check transmission fluid condition |
| 96k | ★ Spark plug replacement + oil/filter |
| 100k | ★ Full inspection. This mileage alone isn’t a reason to sell |
| 104–140k | Rotation every oil-change interval, repeated brake/suspension/undercarriage checks |
| 120k | ★ Coolant flush + full inspection |
| 144–150k | ★ Oil + full check of engine/transmission/cooling system/undercarriage/brakes/tires/battery/AC |
Texas heat and mostly short city trips may count as severe conditions under the owner’s manual. In that case, the intervals for oil, transmission fluid, and filters get shorter, so it’s worth checking the severe-service schedule in the owner’s manual too.
From 75k to 150k, I’m budgeting roughly $3,000–5,250 for normal maintenance, and conservatively $4,500–7,500 once I add a buffer for unexpected repairs.
Separately from the maintenance plan, I also decided ahead of time roughly “how long I plan to keep this car.” I compared three points: 2 years (2028, ~95k), 6 years (2032, ~150k), and 10 years (2036, ~200k).
| Ownership length | Sell around | Mileage | Key idea |
|---|---|---|---|
| 2 years | 2028 | 95k | Sell early to minimize depreciation |
| 6 years | 2032 | 150k | Balance between economics and repair risk |
| 10 years | 2036 | 200k | Get as much use out of the car as possible |
I decided the criteria not by mileage, but by type of cost. I’m excluding routine maintenance — oil, filters, tire rotations, spark plugs, coolant, normal tire/brake replacement — from the sell/keep decision entirely. Instead, I’m only weighing unexpected repairs — engine, transmission, AC compressor, major electrical problems, wheel bearings, CV axles, or big suspension/cooling-system repairs.
- Under $3,000 in cumulative unexpected repairs → just keep driving it
- $3,000–5,000 → generally keep driving it
- $5,000–7,000 → weigh the car’s condition against future costs
- $7,000+, or a major repair at the engine/transmission level → seriously consider selling
I concluded that hitting 100,000 miles isn’t, by itself, a reason to sell a car still worth over $15,000. So I’ve set 6 years/150k as my first checkpoint, and at that point I’ll look at how much I’ve spent on unexpected repairs and decide whether to push on to 200k or sell. I’m keeping 2 years/95k as a safe exit if I ever want to trade up sooner, and 10 years/200k as the plan if the car keeps holding up well and I decide to run it all the way out.