Getting a US F-1 Student Visa — From I-20 to Interview Day
One of the first practical things you have to deal with after getting into a US PhD program is the visa. The first time through, the terminology and steps are unfamiliar enough that it’s hard to know where to even start. This post walks through the entire F-1 student visa process, in order.
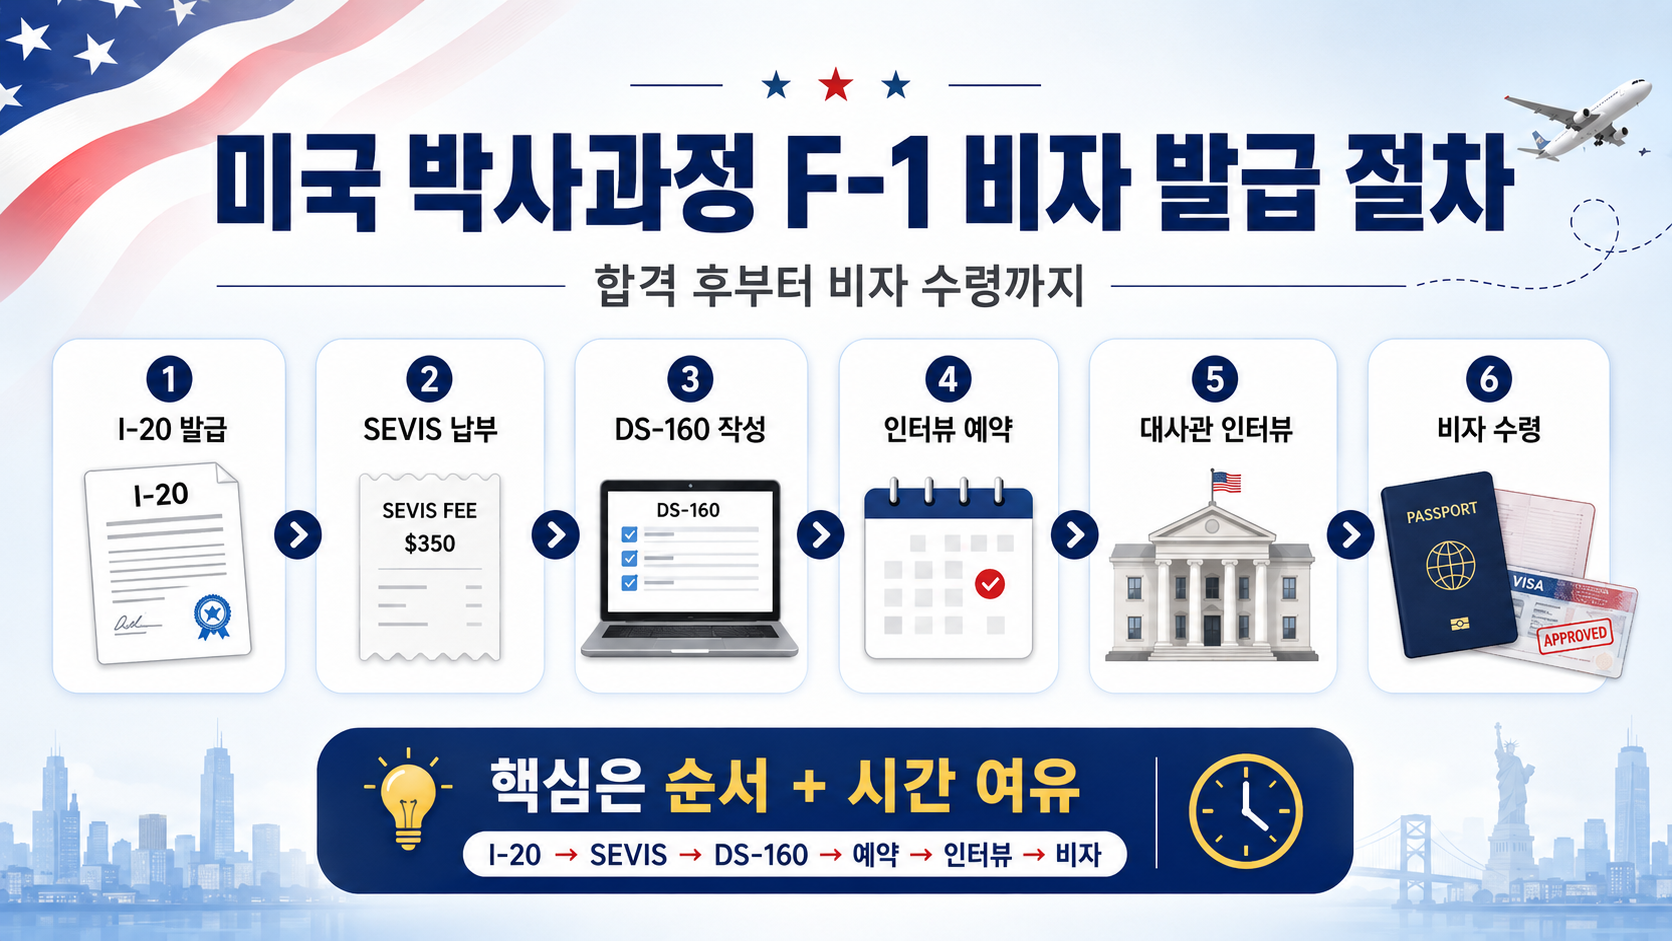
The Overall Flow
| Step | What happens |
|---|---|
| 1 | I-20 issued |
| 2 | SEVIS fee paid (I-901) |
| 3 | DS-160 filled out |
| 4 | Visa interview scheduled |
| 5 | Interview day |
| 6 | Visa received |
Step 1. Getting the I-20
The I-20 is the certificate of eligibility your US school issues to confirm your admission. It’s the document that starts the whole F-1 visa process.
How it works
After you’re admitted, the school’s International Students Office emails you asking for the information they need to issue the I-20. They usually ask for:
- A copy of your passport — it needs to be valid for at least 6 months past your intended start date
- Proof of funding — if your program is funding you, an offer letter can often substitute for this
- A previous I-20 — if you’ve studied in the US before, you’ll need to submit it
After you submit everything, you’ll typically get the I-20 within a few weeks, either by email (PDF) or by mail.
Make sure to check the Program Start Date printed on your I-20. You’re allowed to enter the US starting 30 days before that date.
Step 2. Paying the SEVIS Fee (I-901)
Once you have your I-20, you need to pay the SEVIS fee before your visa interview.
- Amount: $350 for F-1 (as of 2026)
- Where to pay: fmjfee.com
- What you’ll need: the SEVIS ID on your I-20 (a number starting with N)
Print or save the receipt as a PDF after paying — you’ll need to bring it on interview day.
It’s best to wait at least 3 business days after paying the SEVIS fee before submitting your DS-160 or scheduling your interview. It can take a little while for the payment to show up in the system.
Step 3. Filling Out the DS-160
The DS-160 is the online form for applying for a US visa.
- Where to fill it out: ceac.state.gov
- Language: English
- Time needed: 1–2 hours the first time through
Main sections
- Basic personal information and passport details
- Education and work history
- Previous visits to the US
- Any prior visa refusals
- Purpose of travel and the school you’re entering
Things to watch out for
- You can save your progress partway through, but be sure to hold on to your Application ID (you’ll need it to pick up where you left off)
- Photo requirements: front-facing, white background, taken within the last 6 months
- You can’t edit anything after submitting, so double-check everything carefully first
- Once you submit, save the confirmation page as a PDF — you’ll need to bring the barcode page on interview day
Step 4. Scheduling the Visa Interview
Once the DS-160 is submitted, you schedule your interview at the US embassy or consulate.
- Scheduling link: ais.usvisa-info.com
- Available locations: Seoul (Gwanghwamun embassy), Busan consulate
Information needed to schedule
- Passport number
- DS-160 barcode number
- SEVIS ID
- Visa type applying for (F-1)
Cost
- MRV fee: $185 (visa application fee) — must be paid before scheduling
- Payment method: bank transfer or card, following the instructions on the scheduling site
During peak season (June–August), interview slots can be booked out weeks in advance. Try to schedule as early as possible, and work backward from your intended start date to give yourself plenty of buffer.
Step 5. Interview Day
What to bring
| Document | Notes |
|---|---|
| Passport (current + previous) | Bring any previous passport too if you’ve held a US visa before |
| DS-160 confirmation page | Print the first page, the one with the barcode |
| Interview appointment confirmation | Printed from the scheduling site |
| Original I-20 | The original — not a copy — is required |
| SEVIS payment receipt | The I-901 payment confirmation |
| Offer letter | One that includes the details of your school funding |
| Proof of financial support | Bank statements, etc. (often unnecessary if you have funding) |
| Photo | 1–2 photos meeting spec (requirements can vary by embassy) |
It’s safer to bring both originals and copies of your documents. Some consulates ask for additional paperwork.
How the day goes
- Arrive at the embassy (15–30 minutes before your appointment is recommended)
- Security check — phones and laptops aren’t allowed inside. It’s best to leave them somewhere nearby or not bring them at all
- Document check and fingerprinting
- Consular interview (usually 3–5 minutes)
- Result — you’ll almost always be told verbally whether you’re approved the same day
Common interview questions
- Which school and program are you entering
- What’s your major and research topic
- What are your plans after graduation (this is checking whether you intend to return to Korea)
- How is your funding structured
It’s best to answer short and clear. You don’t need to over-explain.
The interview is conducted in English, though you can request Korean. Still, it’s more natural to have your answers ready in English.
Step 6. Getting Your Visa
If your interview is approved, the embassy keeps your passport. Your passport, with the visa attached, is usually mailed back by registered post within 3–5 business days.
When it arrives, make sure to check the visa details (name, date of birth, validity period, visa type) carefully.
Full Timeline Summary
| When | What to do |
|---|---|
| Right after admission | Request the I-20 |
| After receiving the I-20 | Pay the SEVIS fee |
| 3+ days after paying SEVIS | Fill out and submit the DS-160 |
| After submitting DS-160 | Pay the MRV fee → schedule the interview |
| Interview day | Bring documents, get fingerprinted, do the interview |
| 3–5 days after the interview | Receive the visa |
Wrapping Up
The visa process looks like a lot of steps, but it’s not hard if you take them one at a time in order. The most important thing is giving yourself enough time. Interview slots can get booked out, and gathering documents can take a while, so it’s best to start at least 2–3 months before your intended start date.